主题
以部署到Ubuntu系统服务器为例
安装NodeJs
shell
sudo apt-get update
#安装nodejs
sudo apt-get install nodejs
#安装npm
sudo apt-get install npm
#检查是否安装成功
node -v
npm -v
#显示对应版本号即为安装成功
如果发现node的版本和最新版差距很大,需要使用N更新node
shell
npm install -g n
n stable
#再检查版本
node -v
npm -v
安装MySQL数据库
shell
# 查看有没有安装MySQL:
dpkg -l | grep mysql
# 安装MySQL:
apt install mysql-server
#安装完成之后可以使用如下命令来检查是否安装成功:
netstat -tap | grep mysql
#通过上述命令检查之后,如果看到有 mysql 的socket处于 LISTEN 状态则表示安装成功。
#登录mysql数据库可以通过如下命令:
mysql -u root -p
#-u 表示选择登陆的用户名, -p 表示登陆的用户密码,现在是mysql数据库是没有密码的,Enter password:处直接回车,就能够进入mysql数据库。
#然后通过 show databases; 就可以查看当前的所有数据库。
接下来,为了确保数据库的安全性和正常运转,对数据库进行初始化操作。这个初始化操作涉及下面5个步骤。
(1)安装验证密码插件。
(2)设置root管理员在数据库中的专有密码。
(3)随后删除匿名账户,并使用root管理员从远程登录数据库,以确保数据库上运行的业务的安全性。
(4)删除默认的测试数据库,取消测试数据库的一系列访问权限。
(5)刷新授权列表,让初始化的设定立即生效。
初始化命令:
shell
mysql_secure_installation如果在这一步有报错,则需要配置密码。
shell
# 可能的报错信息:
# Re-enter new password:
#  ... Failed! Error: SET PASSWORD has no significance for user 'root'@'localhost' as the authentication method used doesn't store # authentication data in the MySQL server. Please consider using ALTER USER instead if you want to change authentication parameters.

# 去手动配置密码
mysql # 进入mysql
ALTER USER 'root'@'localhost' IDENTIFIED WITH mysql_native_password by '你的密码';
# 看到Query OK, 0 rows affected (0.02 sec)即为成功,然后继续mysql_secure_installation初始化
对于上述数据库初始化的操作步骤,输出信息如下
shell
Securing the MySQL server deployment.
Connecting to MySQL using a blank password.
VALIDATE PASSWORD PLUGIN can be used to test passwords
and improve security. It checks the strength of password
and allows the users to set only those passwords which are
secure enough. Would you like to setup VALIDATE PASSWORD plugin?    # 要安装验证密码插件吗?
Press y|Y for Yes, any other key for No: N    # 这里我选择N
Please set the password for root here.
New password:   # 输入要为root管理员设置的数据库密码
Re-enter new password:   # 再次输入密码
By default, a MySQL installation has an anonymous user,
allowing anyone to log into MySQL without having to have
a user account created for them. This is intended only for
testing, and to make the installation go a bit smoother.
You should remove them before moving into a production
environment.
Remove anonymous users? (Press y|Y for Yes, any other key for No) : y     # 删除匿名账户
Success.
Normally, root should only be allowed to connect from
'localhost'. This ensures that someone cannot guess at
the root password from the network.
Disallow root login remotely? (Press y|Y for Yes, any other key for No) : N    # 禁止root管理员从远程登录,这里我没有禁止
... skipping.
By default, MySQL comes with a database named 'test' that
anyone can access. This is also intended only for testing,
and should be removed before moving into a production
environment.
Remove test database and access to it? (Press y|Y for Yes, any other key for No) : y   # 删除test数据库并取消对它的访问权限
- Dropping test database...
Success.
- Removing privileges on test database...
Success.
Reloading the privilege tables will ensure that all changes
made so far will take effect immediately.
Reload privilege tables now? (Press y|Y for Yes, any other key for No) : y   # 刷新授权表,让初始化后的设定立即生效
Success.
All done!
检查mysql服务状态,显示running即为安装成功。
shell
systemctl status mysql现在配置mysql允许远程访问
首先编辑 /etc/mysql/mysql.conf.d/mysqld.cnf 配置文件
shell
vim /etc/mysql/mysql.conf.d/mysqld.cnf注释掉 bind-address= 127.0.0.1,保存退出。
执行授权
shell
mysql -u root -p
mysql> grant all on *.* to root@'%' identified by '你的密码' with grant option;
mysql> flush privileges;    # 刷新权限
mysql> exit
然后执行exit命令退出mysql服务,再执行如下命令重启mysql
shell
systemctl restart mysql现在Windows下可以使用Navicat图形化工具远程连接Ubuntu下的MySQL数据库
mysql安装完成后新建一个数据库,数据库名为right_house_db。 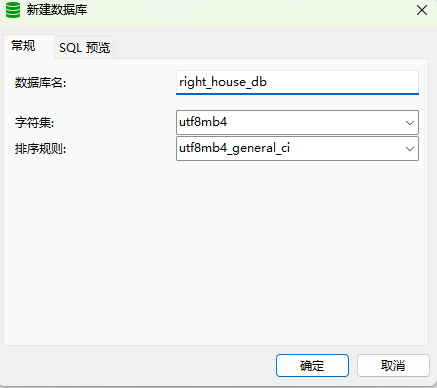
安装Redis
shell
sudo apt update

# 安装
sudo apt install redis-server

# 配置

sudo vim /etc/redis/redis.conf
# 设置密码:修改配置文件里的requirepass,把注释关掉,然后后面改为你想设置的密码;
# supervised 设置为 systemd。
# 配置远程连接,将 bind 127.0.0.1 ::1 改为 bind 0.0.0.0

#修改配置需要重启
sudo service redis restart  # 重新加载Redis服务文件
sudo systemctl status redis # 查看 Redis 的运行状态

# 一些操作
sudo service redis start  # 启动
sudo service redis stop  # 关闭
sudo service redis restart  # 重启
安装对象存储minio
shell
# 创建一个工作目录
mkdir /opt/minio
cd /opt/mkdir
# 获取安装包
wget https://dl.min.io/server/minio/release/linux-amd64/minio
# 启动
/opt/minio/minio server /opt/minio/file --console-address :9001 --address :9000
通过端口9001访问OSS后台管理页面,默认用户名和密码都是:minioadmin。

登录完成后点击新建bucket
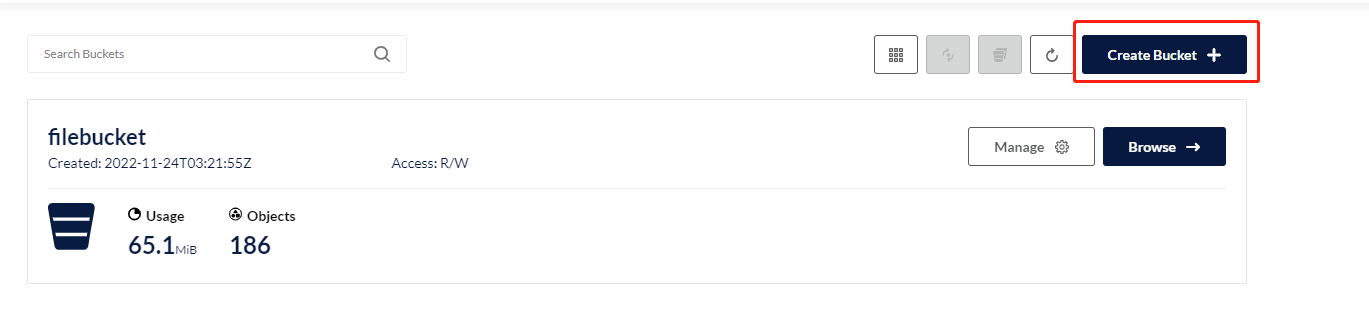
bucket名称为:filebucket

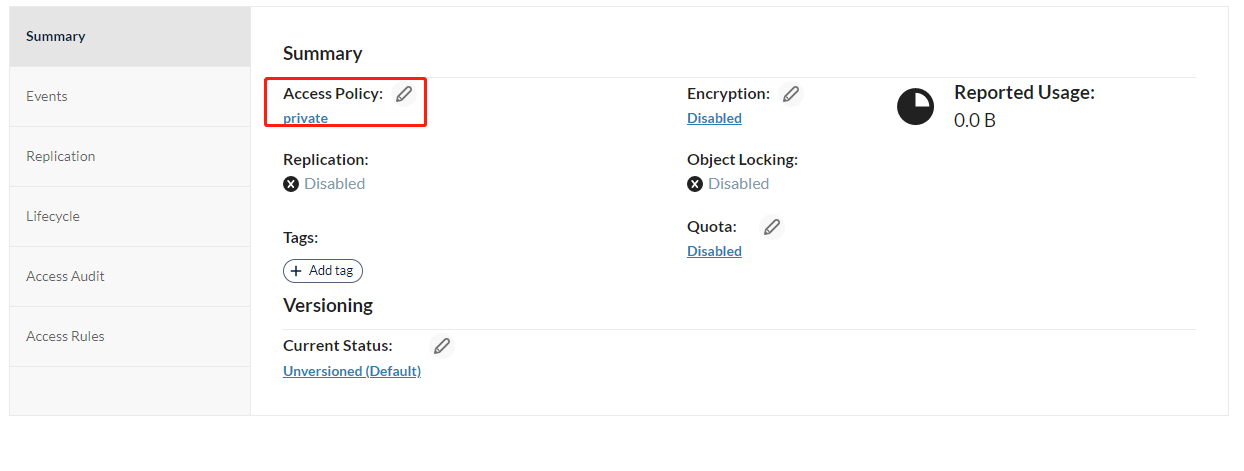
完成后点击设置,修改访问权限为public
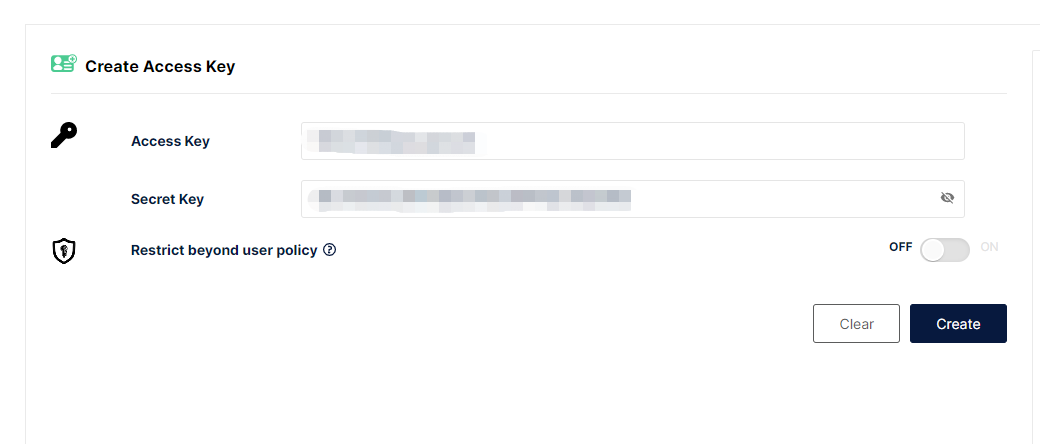
去到access-keys菜单生成点击Create Access Key生成Access Key
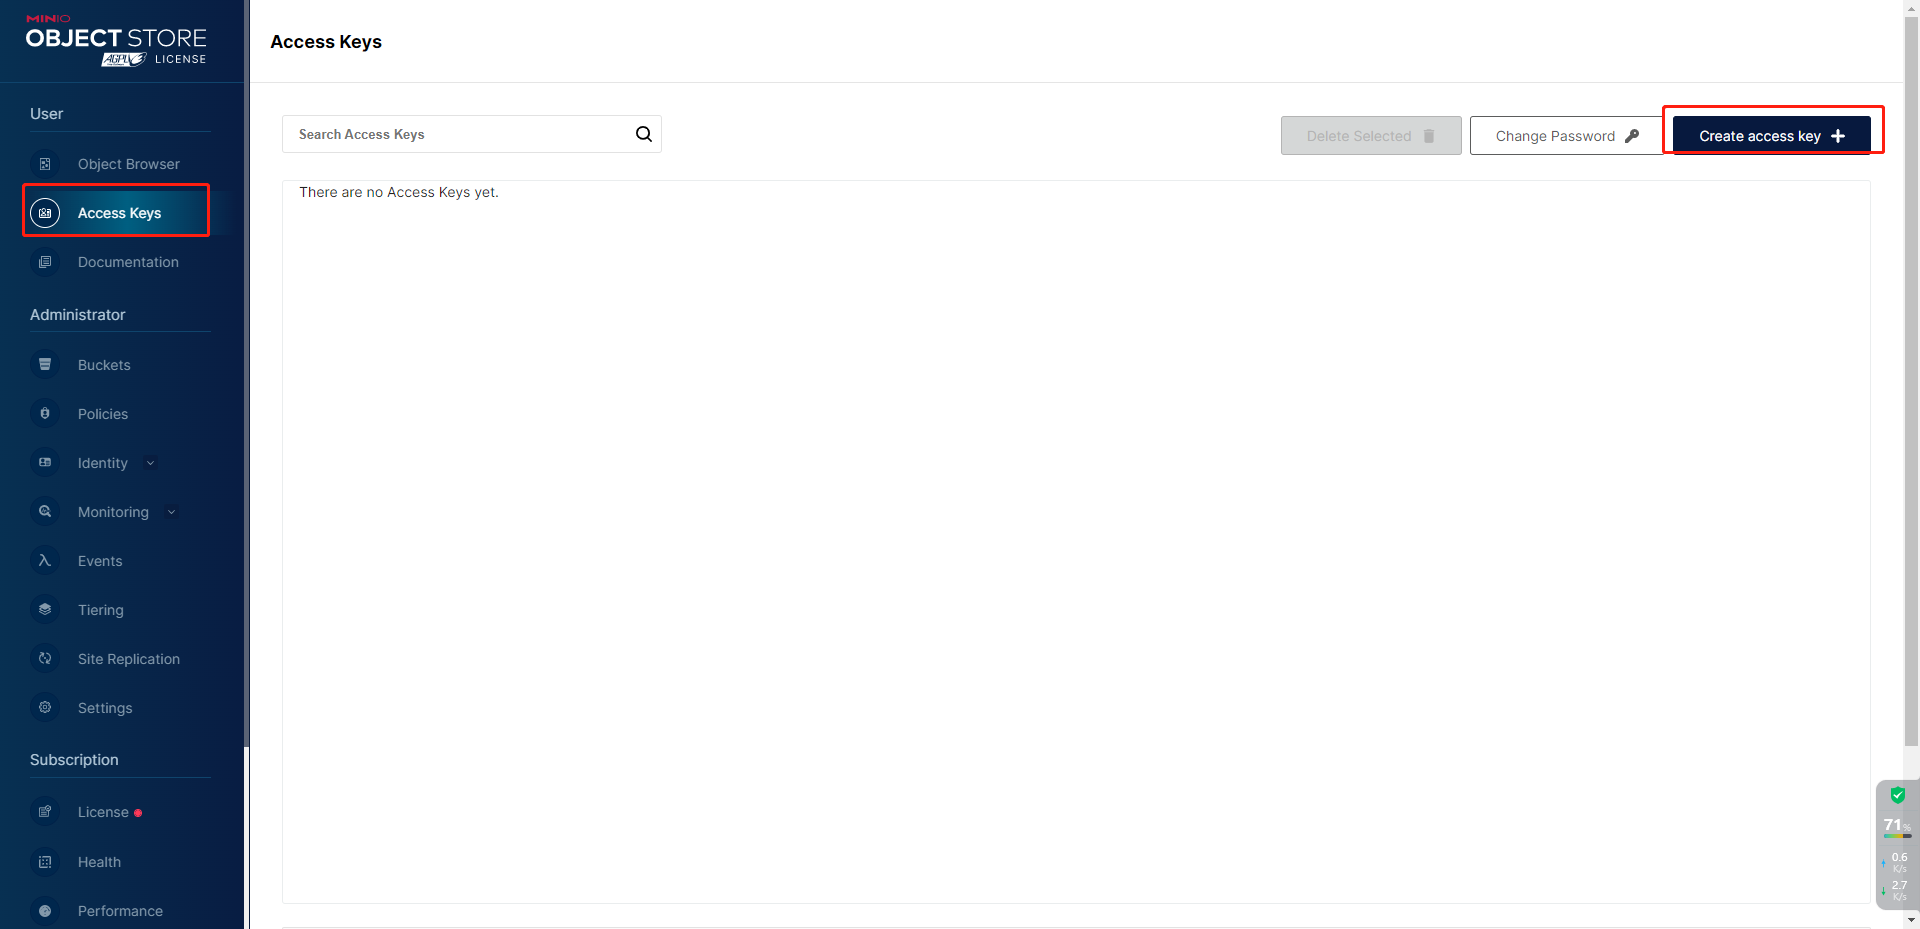
将生成的Access Key和Secret Key保存好,要用到服务端配置内
将minio添加到开机自启
shell
# 移动到/etc/init.d/
cd /etc/init.d/
# 新建个shell脚本文件并进入编辑
touch powerUp.sh
vim powerUp.sh
写入如下脚本并保存
shell
#!/bin/sh
### BEGIN INIT INFO
# Provides: starter
# Required-Start: $remote_fs $syslog
# Required-Stop: $remote_fs $syslog
# Default-Start: 2 3 4 5
# Default-Stop: 0 1 6
# Short-Description: start starter
# Description: start powerUp
### END INIT INFO
 nohup /opt/minio/minio server /opt/minio/file --console-address :9001 --address :9000
 exit 0
设置权限
shell
sudo chmod 755 powerUp.sh设置开机启动
shell
# 后面90数字是你设置的启动序号,越大级别越低,执行越晚
update-rc.d powerUp.sh defaults 90
# 取消开机启动命令
update-rc.d -f powerUp.sh remove
以后有需要开机执行的命令都可以统一添加到powerUp.sh内
安装web服务器Nginx
shell
sudo apt update
# 安装
sudo apt install nginx
# 配置文件路径 /etc/nginx/sites-available/default